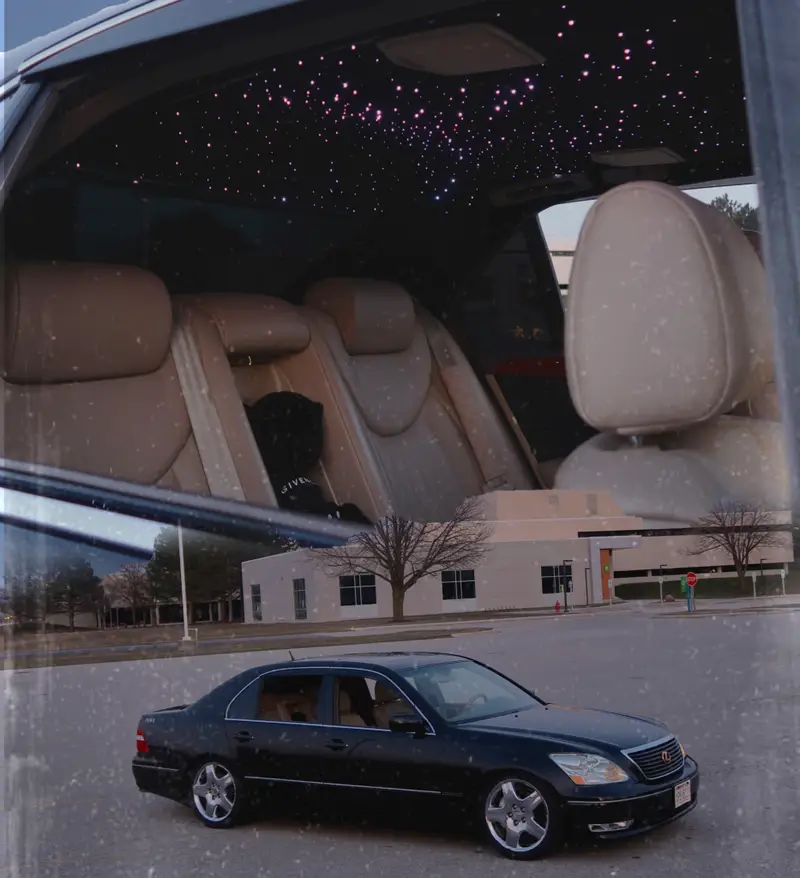
In February of last year, I embarked on a mission to turn my Lexus LS430 into a celestial haven with a starlight headliner. Faced with quotes exceeding $1,000 from auto shops, I decided to take matters into my own hands, delving into tutorials and professional installation techniques. Along the way, I discovered an innovative approach: creating starlight headliner templates. During the journey, I picked up various techniques that I’m excited to share with you in this tutorial.
Necessary Tools:
- Set of screwdrivers
- Socket and wrench set
- Permanent market
- Electric hand drill
- Small drill bit set
- Tape
- Scissors
- Trim removal set
- Measuring tape
- Glue
- Pliers / Nail clippers
- Fuse tap
- Extra wire
- Wire cutters
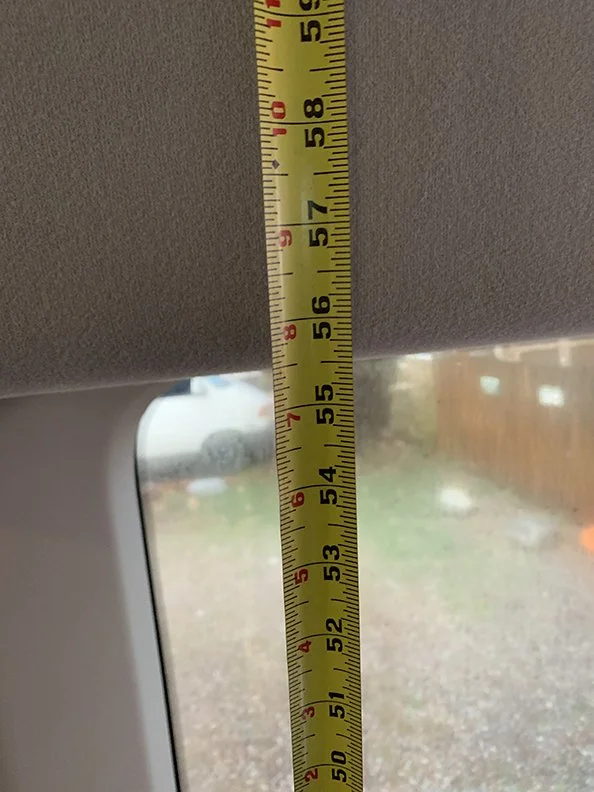
Step 1: Measure and Document
To kickstart the project, I meticulously measured my headliner while still in the car, considering sunroof, mirror, and handle cutouts. These dimensions served as a crucial reference point for crafting my template in Photoshop.
Step 2: Create a Photoshop Template
In Photoshop, I scaled the measurement dimensions down into a blank page, incorporating sunroof cutouts to mirror my car’s specifications. The next critical decision involved choosing a starlight headliner kit based on the desired star count, settling on 1000 stars. I recommend 600-1000 stars for a four-door sedan, 400-600 for a two-door coupe, and 1000+ for an SUV.

Step 3: Design Your Star Pattern
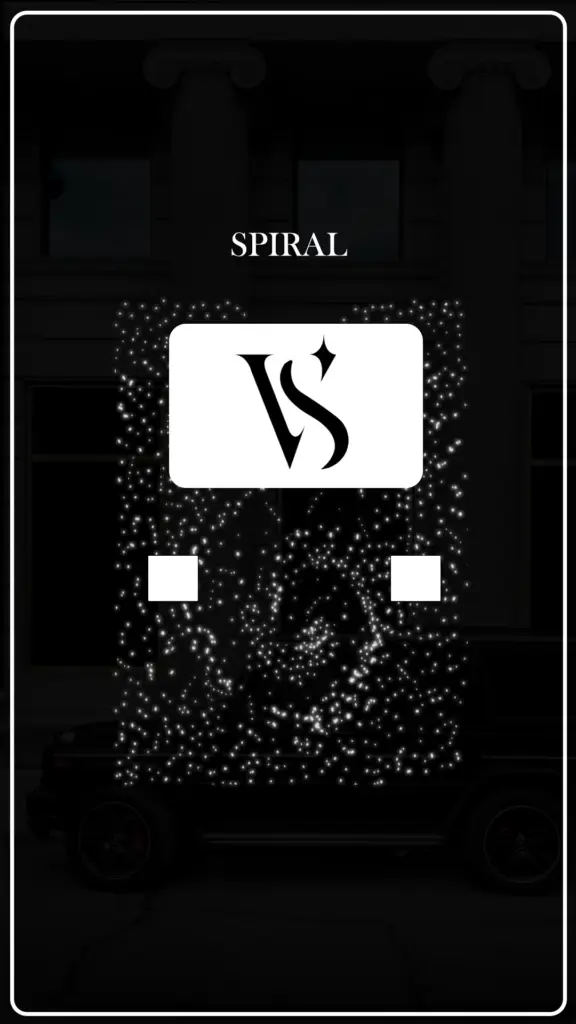
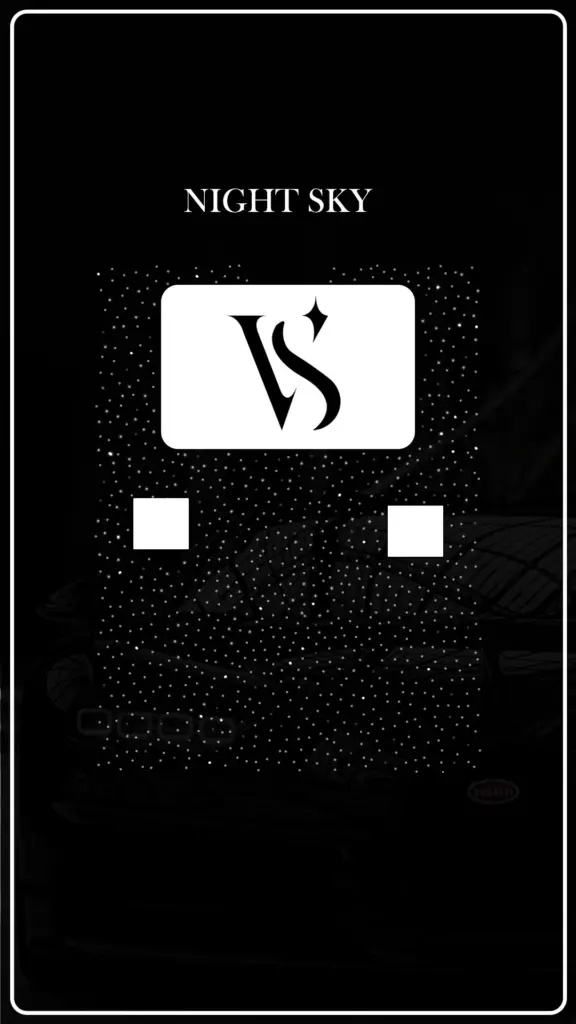
With the template ready, the creative process began. Using Photoshop’s brush tool, I experimented with various star patterns, such as spirals, the milky way, and mesmerizing galaxies. The ideas are endless, so have fun, and look at pictures to draw inspiration from. It was essential to count each star meticulously, ensuring a balanced and visually appealing layout.
Step 4: Print Full-Size Template
Once satisfied with the digital template, I sent it to a printing company, such as Uprinting, to obtain a full-size template for my headliner. This step set the stage for the tangible transformation of my car’s interior.

Step 5: Remove Headliner
Taking the plunge into the hands-on phase, I carefully removed the headliner from my vehicle using my trim removal set. Depending on your car model, this might involve reclining or, in less fortunate instances, removing front seats, armed with screwdrivers and pry tools. Placing the headliner on a table marked the preparatory stage for applying the template.
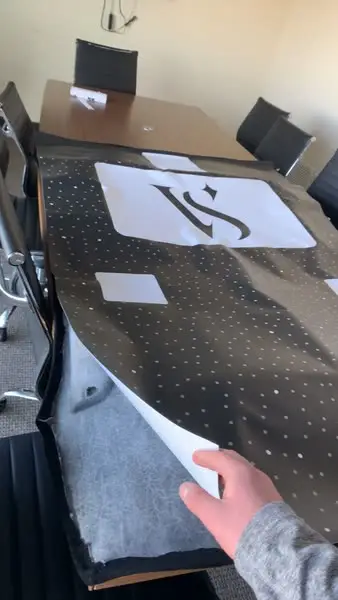
Step 6: Apply Template
A pivotal decision arose regarding whether to glue the template directly to the headliner. I opted for adhesive, only to later realize the challenges it presented during the subsequent steps, causing me to peel the headliner off once the holes were finished. So, I recommend pressing the headliner in place with anything that allows you to remove the template before installation. Using a hand drill, I meticulously poked holes following the star pattern on the template.

Step 7: Poke / Organize Stars
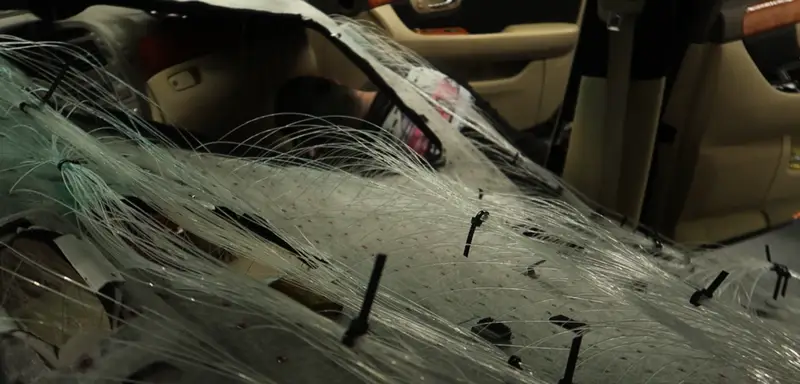
Poke each hole with a hand drill following your template. Once the holes are in place, the organizational stage began. Planning the path through which the stars would run, I used zip ties to bunch stars in groups of 100. This method proved invaluable in maintaining order and preventing frustration during installation.


Step 8: Reinstall Headliner
The process of reinstalling the headliner came with its own set of challenges. Depending on the chosen pillar for star alignment, adjustments were made to ensure stars were flush against the back of the headliner. Accurate measurements and careful reinstallation without gluing stars were critical to a seamless result.


Step 9: Glue Stars in Place
With the stars aligned and tension-free, the gluing process began. This step marked the culmination of meticulous planning and execution. Each star was affixed, ensuring a flawless and organized display behind the headliner.
Step 10: Wiring and Final Steps
For a smoother setup, I recommend using a fuse tap. This lets your starlight headliner turn on during specific functions, like when you turn the key to accessory mode. Choose a circuit related to your car’s interior lights, radio, or auxiliary power outlet. Check your car’s fuse box diagram to find the right fuse. Now, solder an accessory wire from your starlight kit to your fuse box to make the connection. This way, you’ll have a seamless and neat setup without any visible power cables.
To complete the installation, the headliner was clipped back in place, with the stars trimmed from underneath using nail clippers. Cleanup ensued to eliminate any stray clippings within the car’s interior.
Video
Final Thoughts
In wrapping up my journey, let’s be real—I’m no pro, and my project definitely had its hiccups. I’ve gained a ton of insights, and if I could hit rewind, my approach would be different. The learning curve was real, and there are a few things I wish I’d known sooner.
For anyone eyeing a similar venture, take my experience to heart. Learn from my wins and mishaps. If that nagging self-doubt creeps in and you start questioning whether you’re up for the challenge, seriously consider shelling out for professional help. I can vouch for it—those service fees might seem steep, but they’re not arbitrary.
The truth is, the value lies not just in the money spent but in the hours saved, the headaches avoided, and the expertise gained. Sometimes, investing in pros is an investment in sanity and quality. Your journey might take a different turn than mine, but by sharing my story, I hope to give you some pointers for a smoother ride on your own path.